Dashboards
Visualisation of data is one of the key components of our platform. Ever since the first version of Docksters, we have had customers asking us for an easy way to visualise their data in a custom dashboard. With our new Dashboards module, we are giving you the freedom to create your own beautiful dashboards by simply dragging-and-dropping widgets on a grid-based canvas. In this tutorial we will quickly guide you through the steps of doing just that.
This module is disabled by default. You can contact your Docksters Partner to have it enabled for you.
Dashboards
To get started, you need to go to the Dashboards module by clicking on it in the sidebar menu.

Add a new Dashboard
Our first order of business is creating a new blank dashboard. You can do so by pressing the New dashboard button. When you click on the button, a slideover will appear, in which you have to enter a name for your new dashboard.
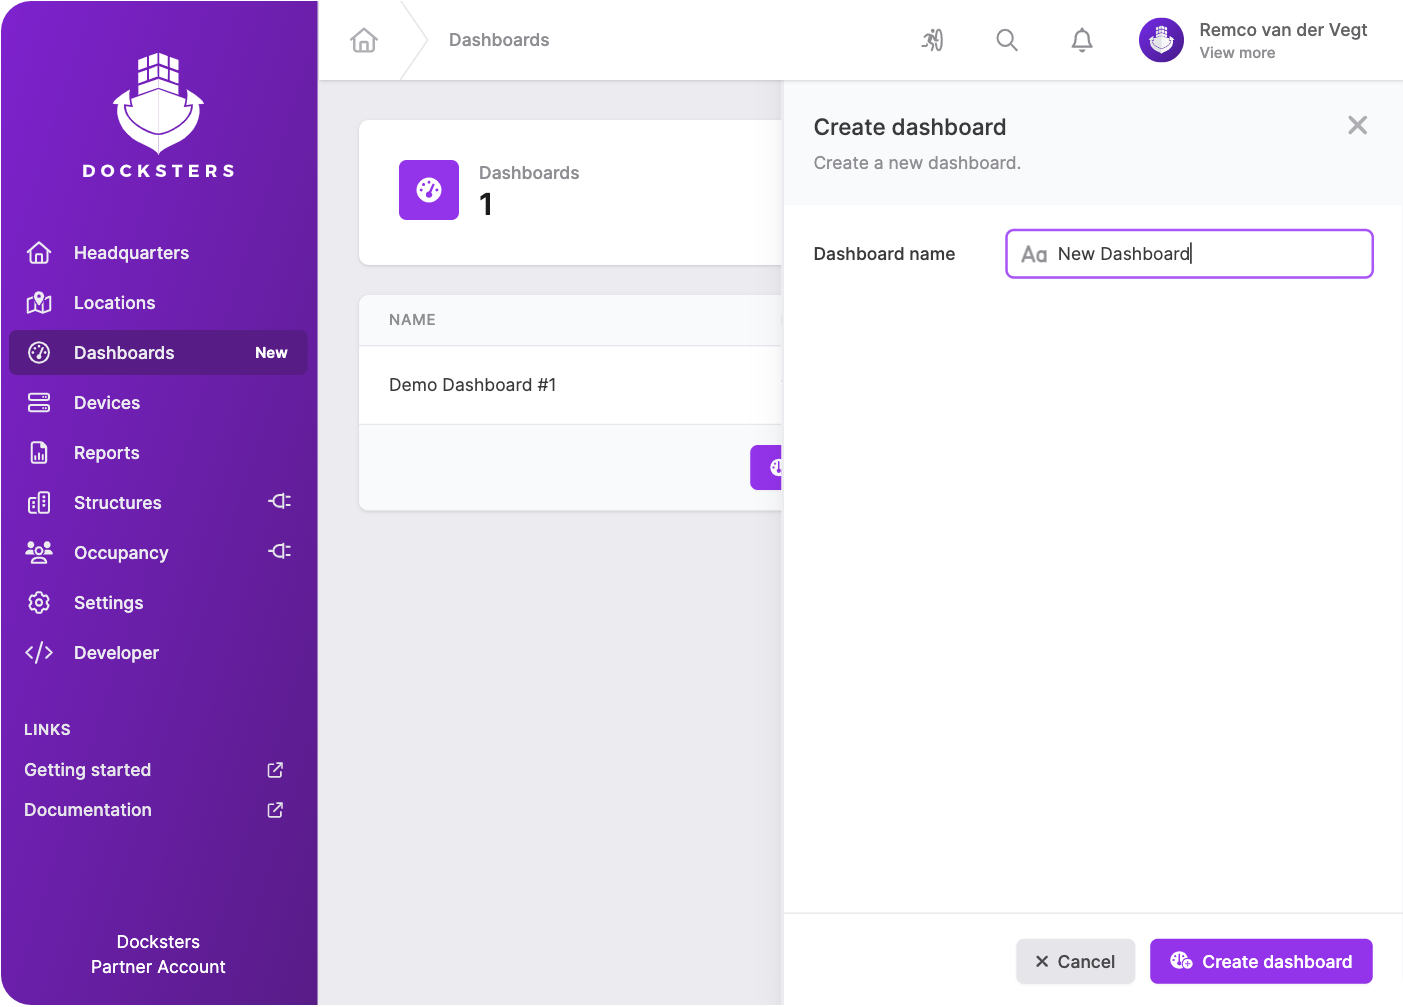
When you are done, press the Create dashboard button to save your new dashboard, and click on it in the table to open it.
Create a new widget
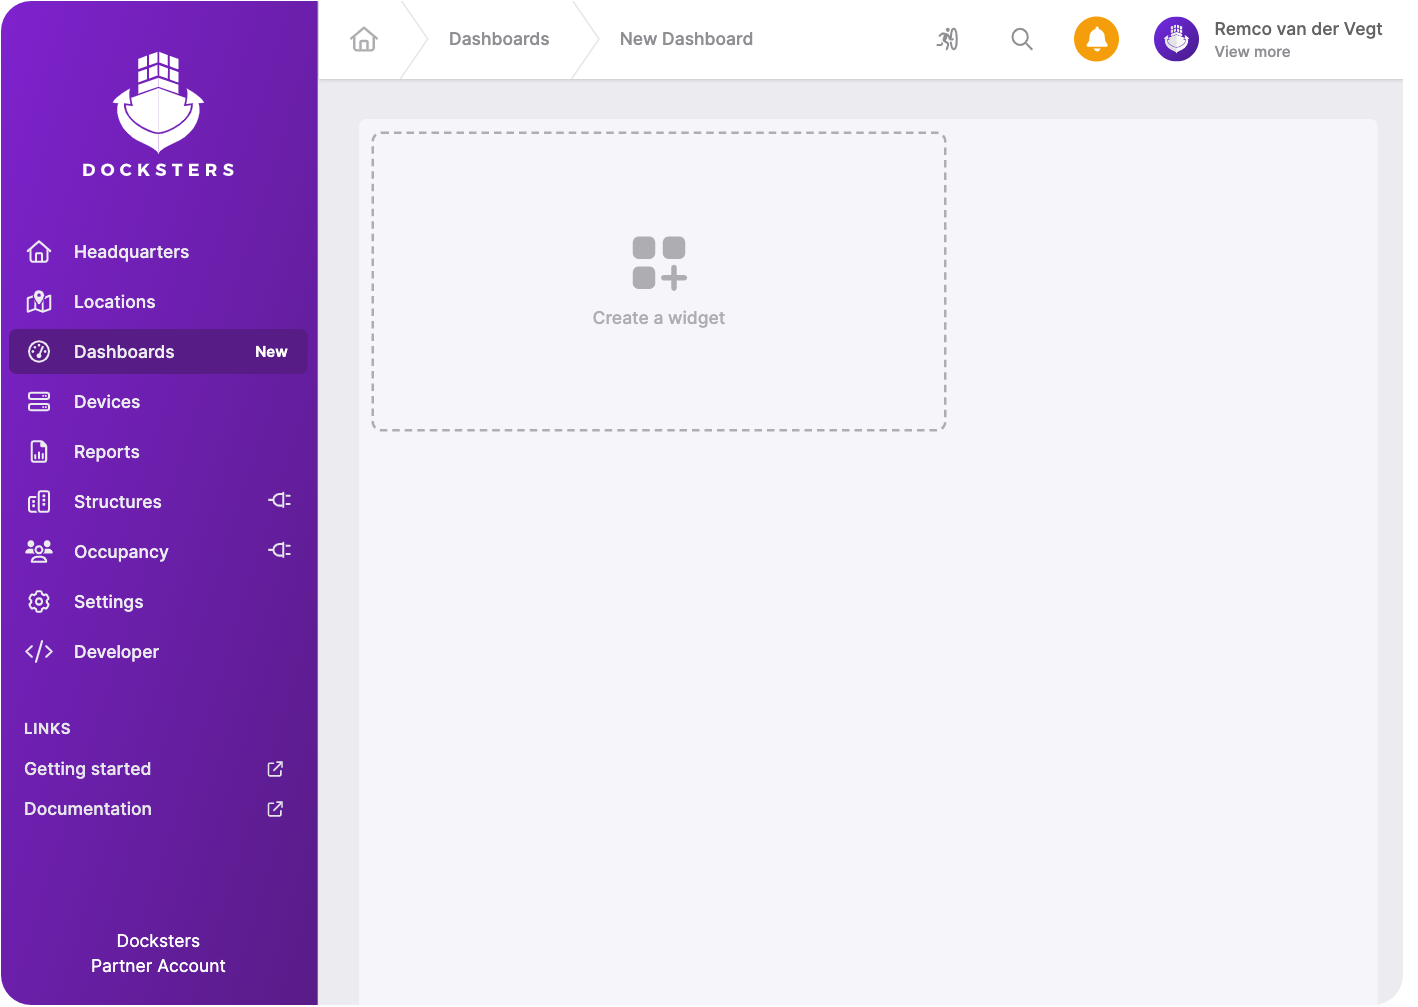
When you open your new Dashboard, you will find an empty grid layout, with a Create a widget button.
Select a widget option
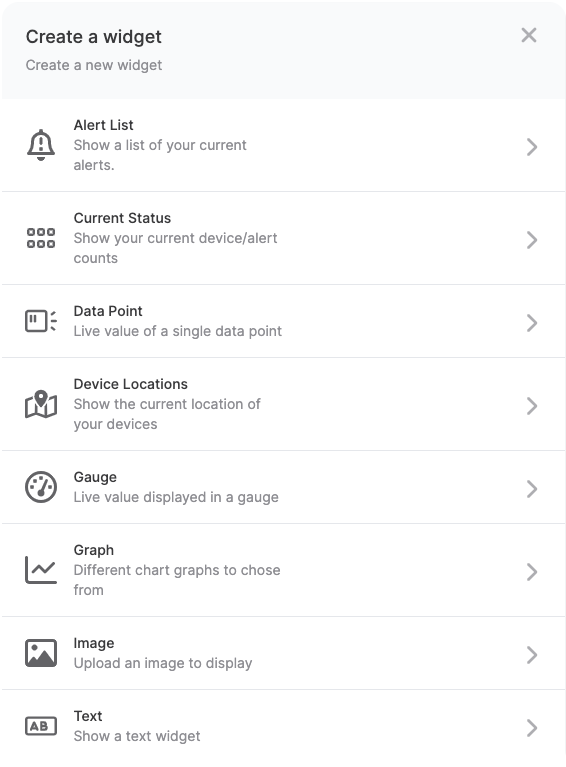
If you click on the Create a widget button, you will see a slideover, showing all of our widget options.
Widget options
When you select a widget, you will see all of the options available for this type of widget. Enter the information required, select your devices/data point and style the widget however you like.
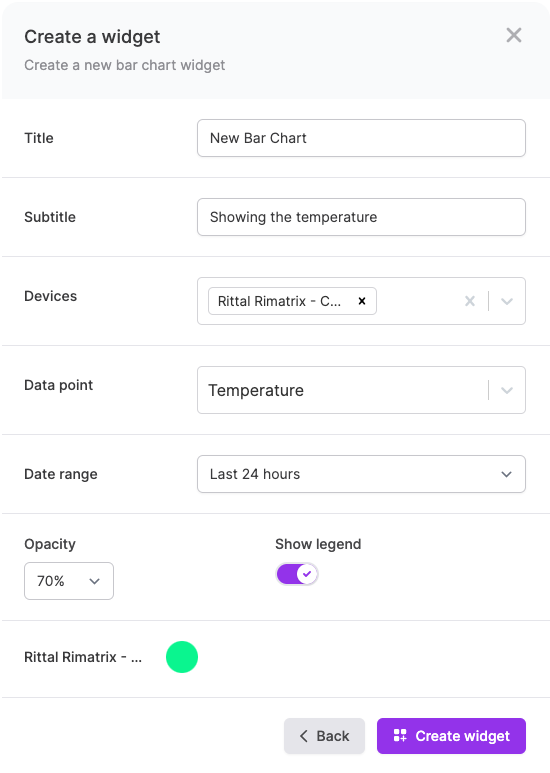
When you are done, press the Create widget button to save and add your widget to your dashboard.
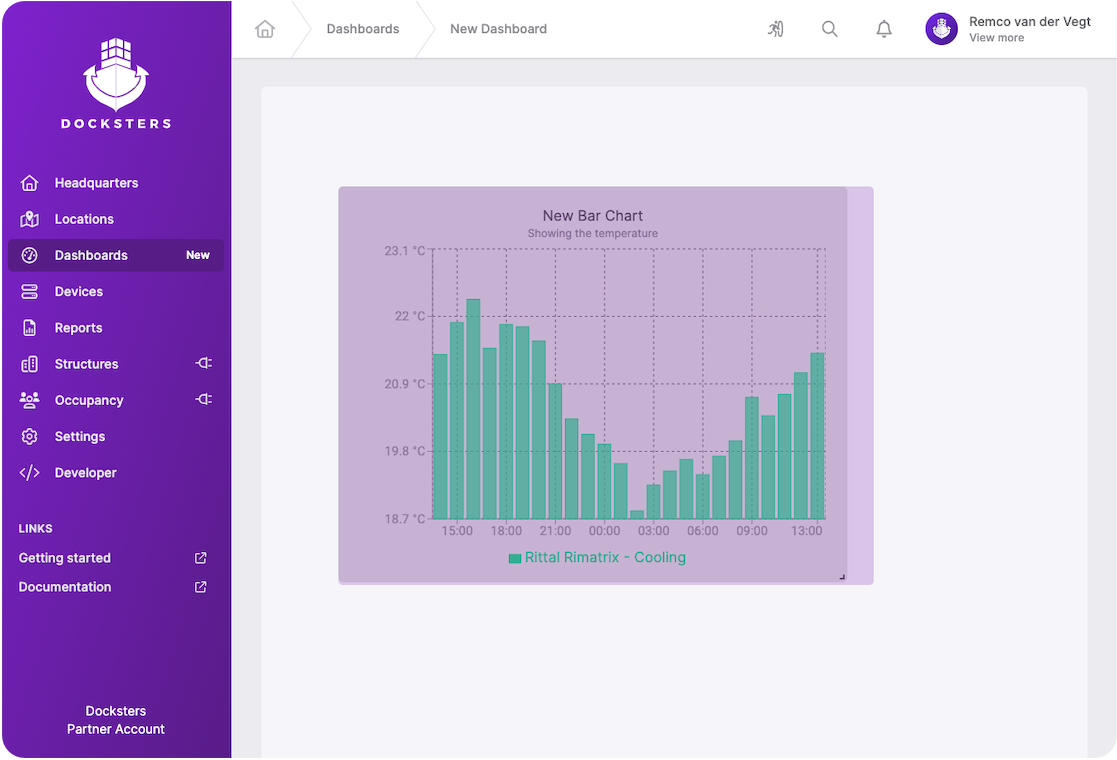
Positioning and resizing
Widgets can be freely dragged to the position of your liking and they can be resized with the arrow in the bottom right corner of the widget.
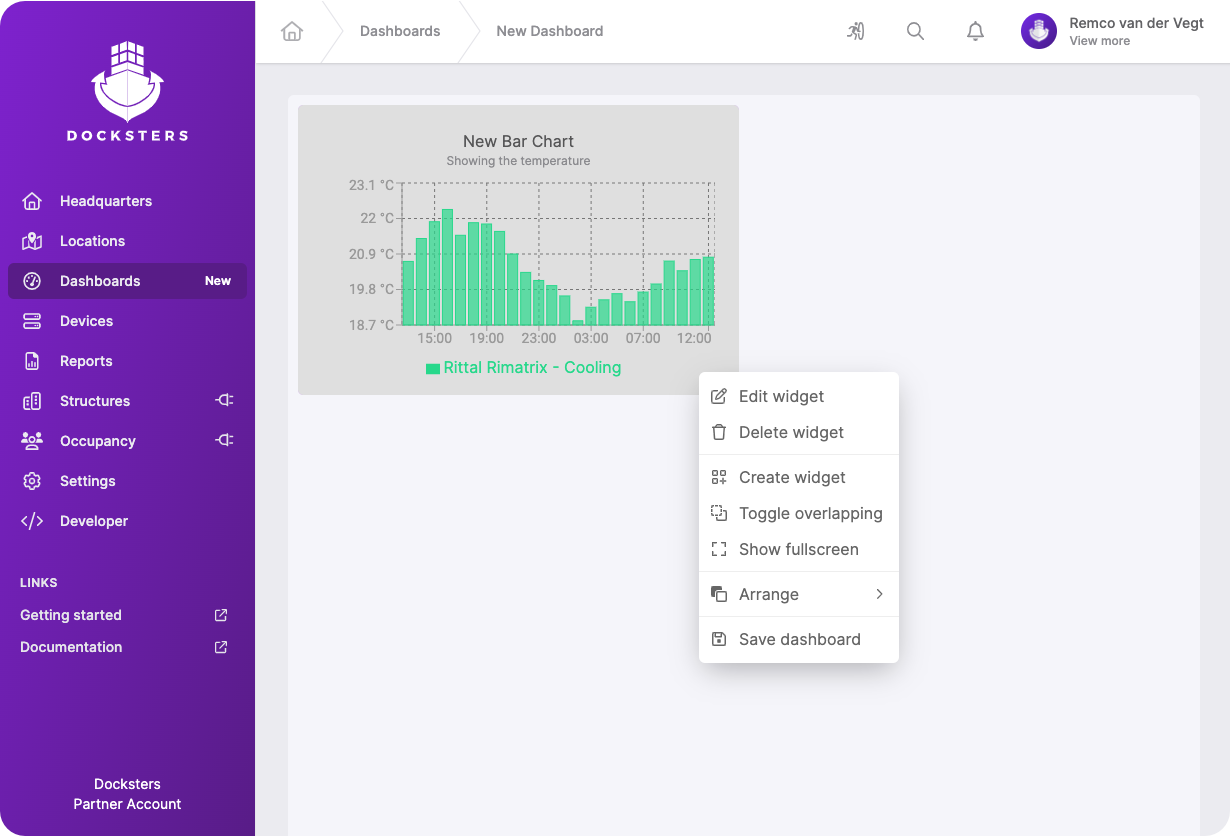
Dashboard options
When you right click on a dashboard, the context menu will appear. This menu can be used to enable/disable different dashboard options. To edit or delete a widget, right click on the widget and select one of the options in the context menu.
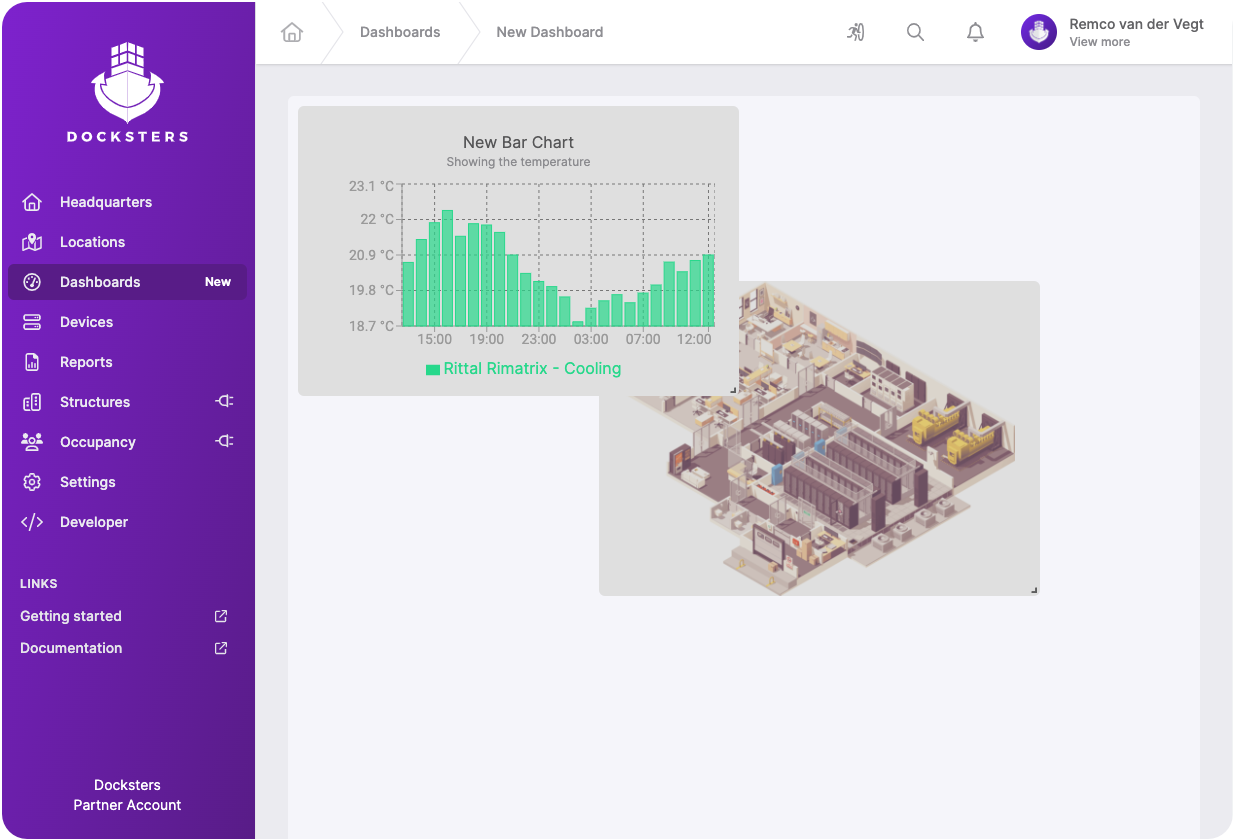
Overlapping widgets
By default, widgets cannot be placed in the reserved space of another widget. If you want to overlap your widgets, you can do so by pressing the Toggle overlapping option in the context menu. After doing this, you can place widgets on top of eachother, and arrange them using the context menu.
Fullscreen mode
Dashboards can be viewed in fullscreen by pressing the Show fullscreen option in the context menu.
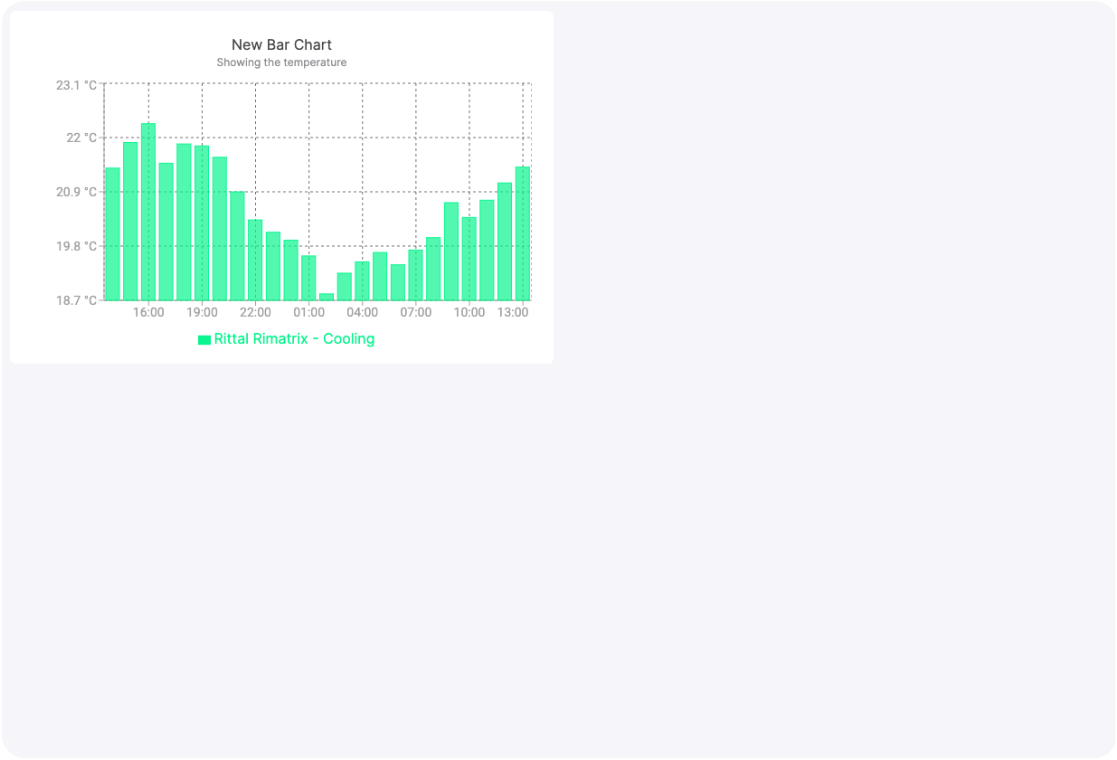
Fullscreen mode can also be entered by using the "?fullscreen=1" URL parameter. This parameter can simply be added to the end of your URL. This can be useful for narrowcasting/TV screens.
Color theme
Our dashboards automatically select a color theme based on your Docksters theme setting. If you want to force your dashboard to use a specific theme, you can use the "?theme=" URL parameter. As an example, you can use "?theme=dark" to show a dashboard in the dark theme. Naturally, "dark" can also be swapped out for "light" (light theme) or "system" (use your device's color scheme) in the URL parameter.
If you want to use multiple URL parameters at the same time, you need to connect them with an ampersand ("&"). For example, your URL could look like this: .../dashboards/[id]?fullscreen=1&theme=dark
If you have any questions about the Dashboards module or this tutorial, please contact us.